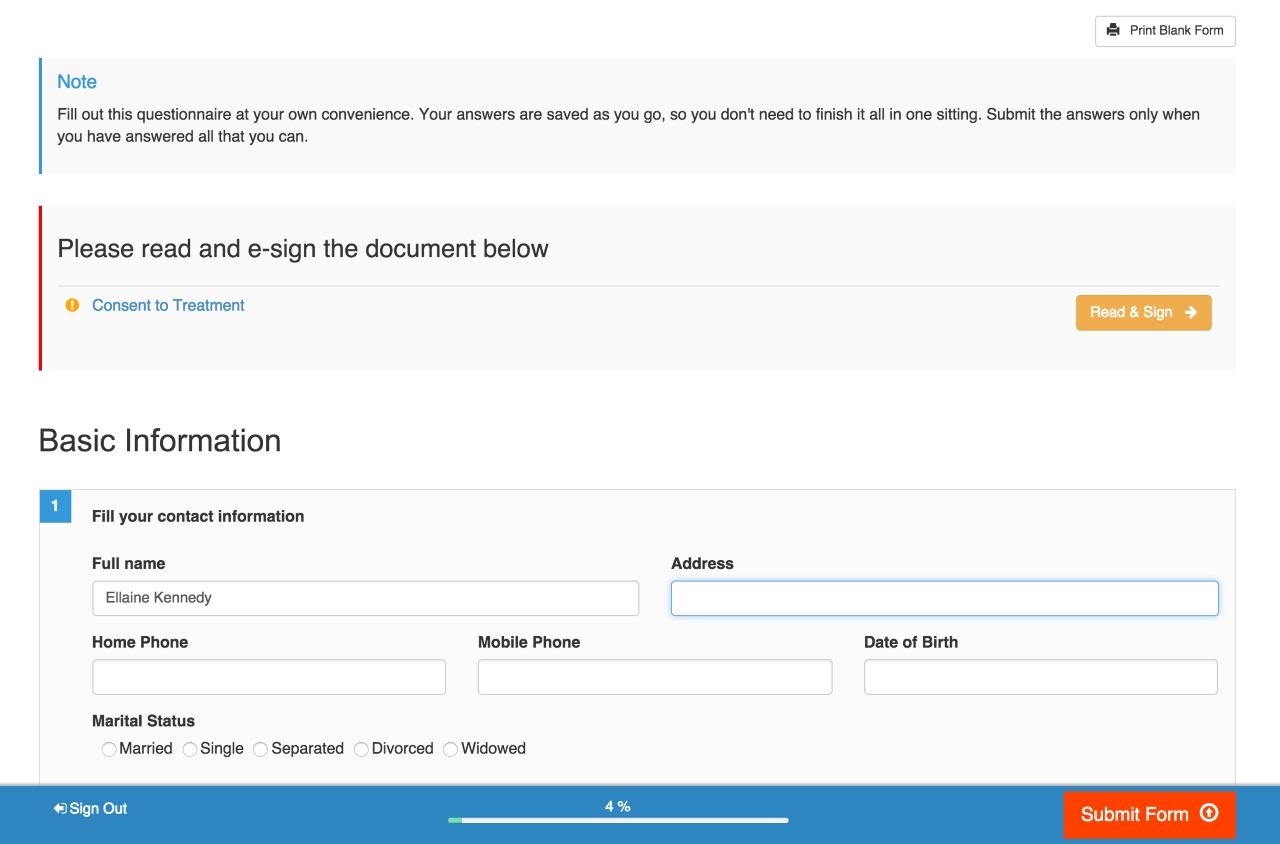
10 Ways to Improve Your Intake Forms
Tips from the Intake Experts

Since we spend a lot of time helping people enhance their intake process, we decided to compile a list of things you can do with IntakeQ that will improve your patient onboarding.
Whether you're new to IntakeQ or have been using it for a while, it's likely that you'll find some of these tips useful.
If you're not familiar with IntakeQ and how it can improve your practice, take 1 minute to learn how it works.
1) Pre-validate Insurance Information
Don't wait for the patient to be in your office to check their insurance eligibility. Collect their insurance information with your intake forms and validate it prior to the appointment.
2) Send Follow-up Forms
Sending a follow-up form with a few questions, to check how patients are responding to your treatment, is a quick non-intrusive way to keep them close and make them more likely to schedule another appointment.
3) Use Revisit Forms
Of course you don't want to make your patients fill out a lengthy questionnaire for every subsequent visit. However, sending them a small revisit form, containing just a few questions, is a good way to avoid surprises and document the treatment progress with their own words.
4) Require e-signature on All Your Consent Forms
E-signatures are recognized as legally binding in most countries. There’s no more need to keep drawers of consent forms, HIPAA release forms, credit card forms and other policy agreements.
IntakeQ makes it easy for you to attach multiple agreements to an intake form and require signatures on all of them. Learn how to set them up here .
5) Customize the Header of Your Form
Your service will look more professional if you keep the visual consistency of your brand when interfacing with clients. When it comes to your electronic intake forms, the goal is to make it look like they are part of your website. Using your logo, and designing the form header to resemble your website will help you achieve this.
If you don't know how to do it yourself, get in touch with us and our designer will take care of it.
6) Using IntakeQ in the Waiting Room
Not all patients remember to fill out their forms prior to their appointment. For these cases it's useful to keep an iPad in your waiting room and set up IntakeQ to work as an iPad app (click here to see how).
7) Send Forms Using Your Own Email Address
IntakeQ normally sends the intake forms to your patients using the hello@intakeq.com account. This works well, however, allowing IntakeQ to use your own address in the From field of the email makes it easier for your clients to recognize who is emailing them. This post explains how to set this up.
8) Create a Custom Welcome Message
Now that IntakeQ can use your own email address to send intake forms, it makes more sense if you customize your email message to be more personal. You can create your email template in the Settings section of IntakeQ.
9) Create Targeted Forms
Creating one form for each demographic or each specialization has never been easier. IntakeQ allows you to have as many forms as you want, and creating a new form based on an existing one is as easy as clicking a button. Copying questions from one form to another is also effortless.
Targeted questionnaires will not only improve your clients' experience, but keep your data clean and objective.
10) Use Skip Logic to Shorten Your Forms Even More
Alternatively, you can use conditional skip logic to show or hide questions based on user answers. See how to set it up here.
If you are not using electronic intake forms yet, sign up for our free trial and start using e-forms with your patients today.

